Getting started with Spire.XLS for .NET
E-iceblue Ltd. is a vendor of powerful components for .NET, Silverlight and WPF development. These products enable the user to easily read and write different formats of office files.
A quick an easy guide to setting up Spire.XLS for use in Visual Studio .NET projects is presented here.
For the purpose of clarity and helping the user get started as soon as possible, a simple 'HelloWorld' example is presented.
Step 1: Download and install Spire.XLS
Download from this link:
http://www.e-iceblue.com/Download/download-excel-for-net-now.html
... and run the installer.
Step 2: Create a .NET WinForms project
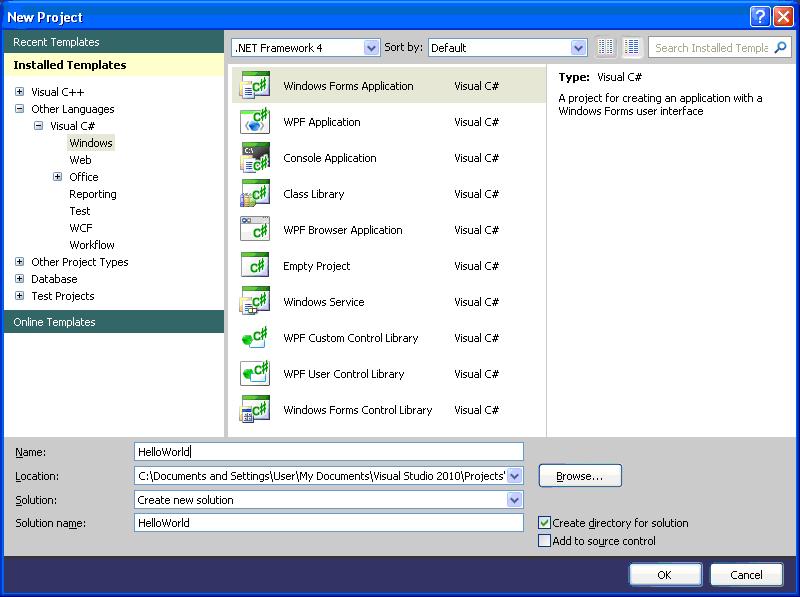
In Visual Studio, click File, New, and then Project.
If you want to create a C# project, select Visual C#, Windows and choose Windows Forms Application:
 Step 3: Set the .NET Target Framework
In Solution Explorer, right-click the project
Step 3: Set the .NET Target Framework
In Solution Explorer, right-click the project 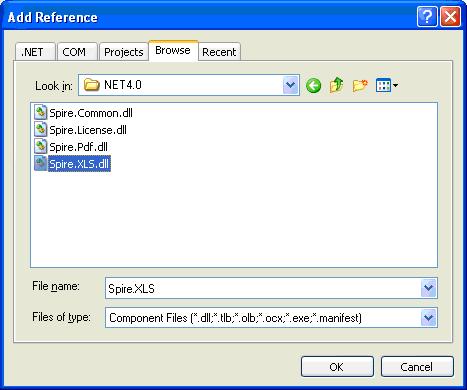 Not sure how determine the target .NET framework of the project? First build your HelloWorld .NET project in order to generate the exe. Then open up a Visual Studio Command Prompt. In the command prompt navigate to where the exe is located and run the command:
 This will invoke
 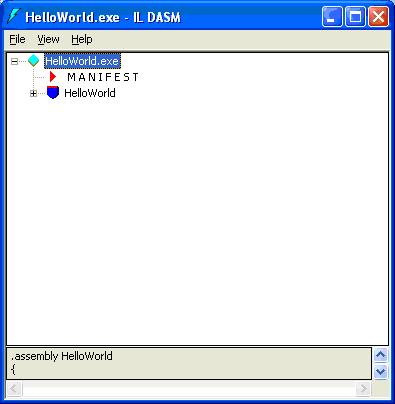 Double click on
 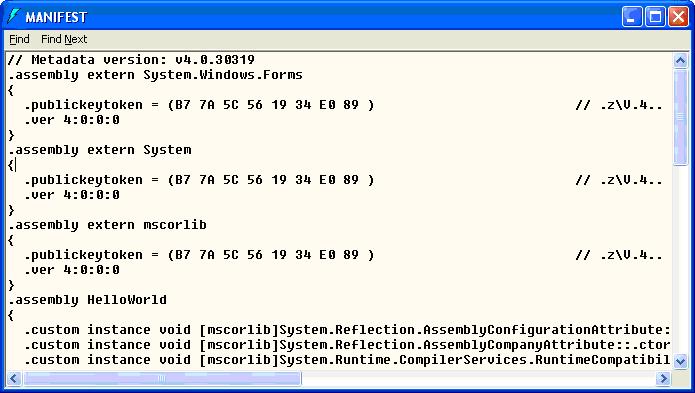 Once you are sure which version of .NET is right for your project, right-click the
  Step 4: Write the event handling code
In Solution Explorer, double-click the file
Step 4: Write the event handling code
In Solution Explorer, double-click the file 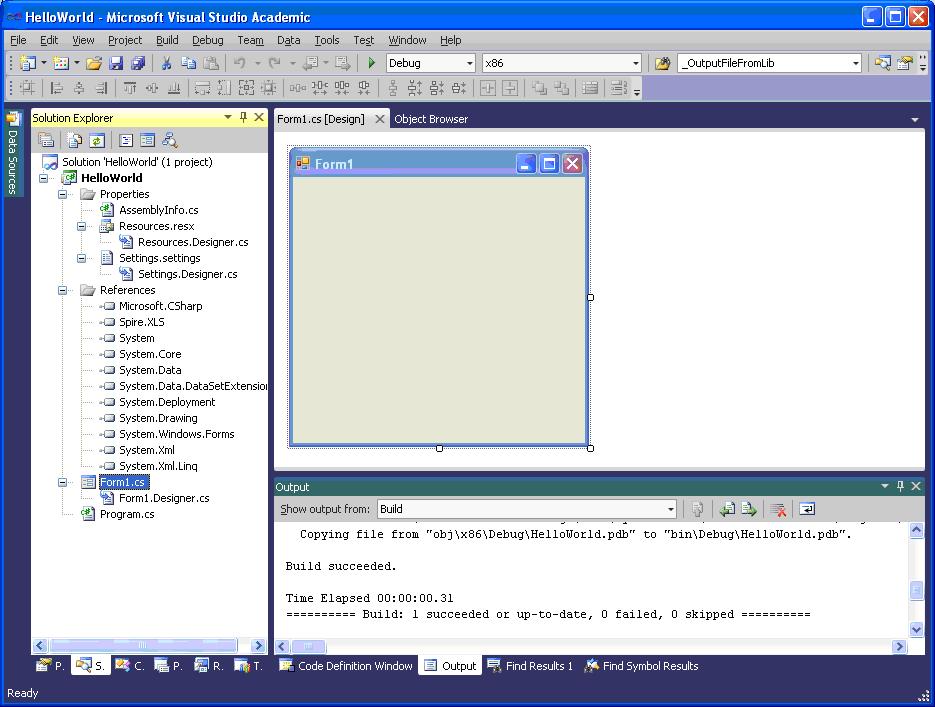 Add a button into the form. Change its name to '
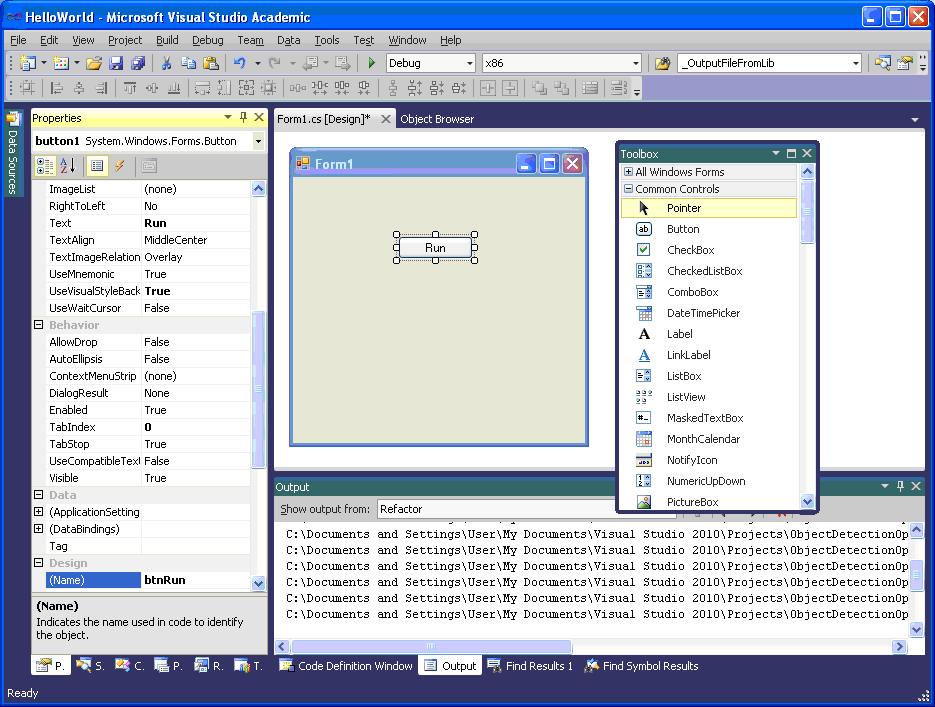 Double-click the button '
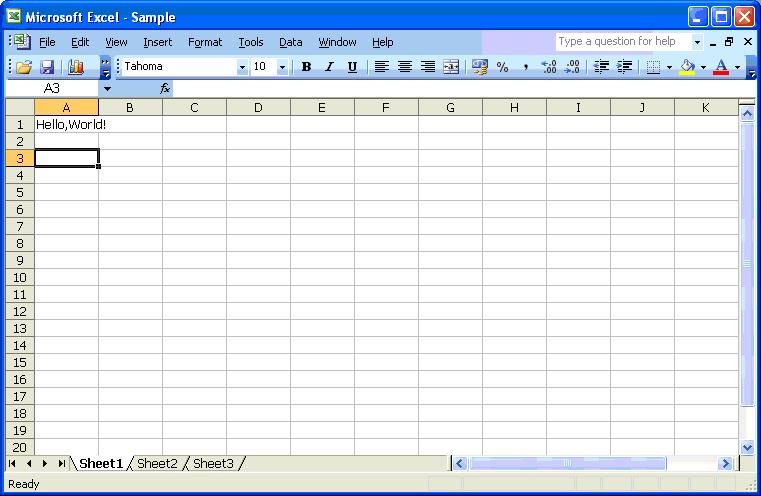
Step 3: Set the .NET Target Framework
In Solution Explorer, right-click the project HelloWorld and click Add Reference.
In the Browse tab, find the folder in which you installed the Spire.XLS.
The default is "C:\Program Files\e-iceblue\Spire.XLS".
Double-click the folder Bin.
If the target framework of the project HelloWorld is:
.NET 2.0, double-click folder NET2.0
.NET 3.5, double-click folder NET3.5
.NET 4.0, double-click folder NET4.0
select assembly Spire.XLS.dll and click OK to add it to the project.:
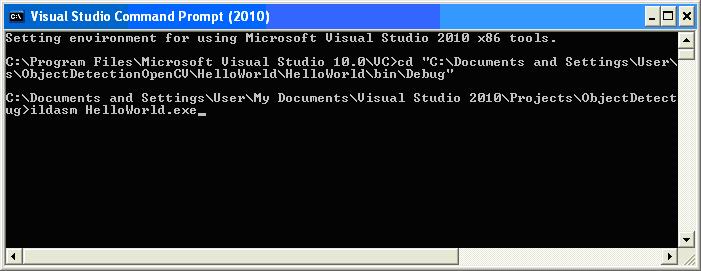
Not sure how determine the target .NET framework of the project? First build your HelloWorld .NET project in order to generate the exe. Then open up a Visual Studio Command Prompt. In the command prompt navigate to where the exe is located and run the command:
ildasm HelloWorld.exe
This will invoke ildasm:
Double click on MANIFEST.
Look for the comment beginning with "// Metadata version", which on my set up tells me that it is .NET version 4.0:
Once you are sure which version of .NET is right for your project, right-click the HelloWorld project properties and make sure the ‘Target framework’ is set to ‘.NET Framework 4’ and not ‘.NET Framework 4 Client Profile’, otherwise build errors may occur:
Step 4: Write the event handling code
In Solution Explorer, double-click the file Form1.cs ( or Form1.vb for Visual Basic) to open the form design view:
Add a button into the form. Change its name to 'btnRun', change its text to 'Run':
Double-click the button 'Run', you will see the code view and the following method has been added automatically:
[code lang="cpp"]
private void btnRun_Click(object sender, EventArgs e)
{
}
[/code]
Add the following code to the top of the file
[code lang="cpp"]
using Spire.Xls;
[/code]
Add the following code to the method btnRun_Click
[code lang="cpp"]
private void btnRun_Click(object sender, EventArgs e)
{
//Creates workbook
Workbook workbook = new Workbook();
//Gets first worksheet
Worksheet sheet = workbook.Worksheets[0];
//Writes hello world to A1
sheet.Range["A1"].Text = "Hello,World!";
//Save workbook to disk
workbook.SaveToFile("Sample.xls");
try
{
System.Diagnostics.Process.Start(workbook.FileName);
}
catch { }
}
[/code]
Step 5: Startup the project
In Solution Explorer, right-click the project HelloWorld and click Debug, then Start new instance, you will see the opened window Form1, click the button 'Run'.
An Excel document will be created, edited and opened.
The string "Hello, World" is filled in the cell A1:


Comments
Post a Comment